support@mtechsystems.co.in
+919890103757
Login
Home
About Us
About Us
Terms & Conditions
Privacy Policy
Packages
FAQ
Feedback
Blogs
Services
All
Software Development
Website Designing
PAN India Services
Mobile Apps
IT Consultancy
Services
All
Software Development
Website Designing
PAN India Services
Mobile Apps
IT Consultancy
Software Development
Software Development Services
E-commerce Software Developmen...
Web Application Development
Custom Software Development Se...
Website Designing
CONTENT MANAGEMENT SYSTEM
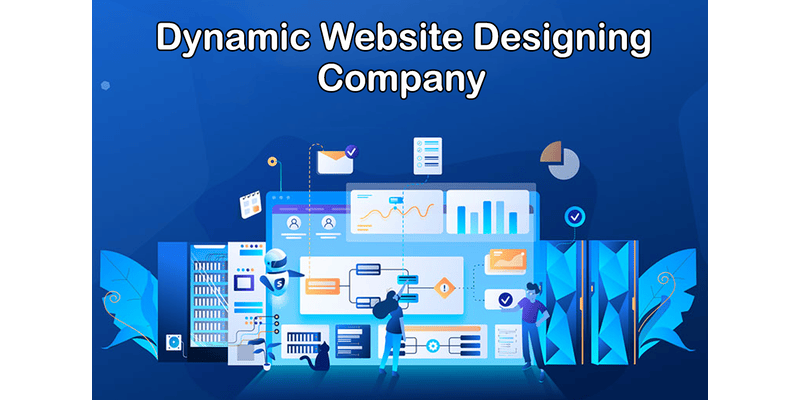
Dynamic Website Designing
E-commerce Development Service...
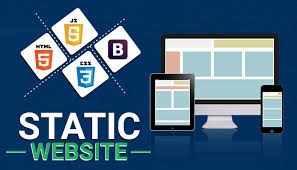
Static Website Designing
PAN India Services
Infrastructure Management Serv...
Network Management
Service Desk Services
Vendor Management
Mobile Apps
ANDROID APPLICATION DEVELOPMEN...
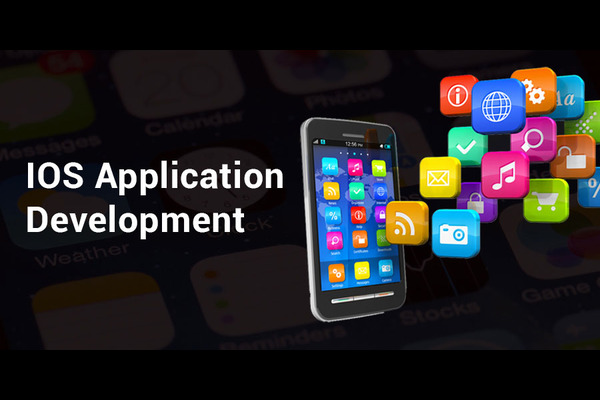
IOS APP DEVELOPMENT
IT Consultancy
Comprehensive AMC
AMC
Products
All
Source Codes
Products
All
Source Codes
Source Codes
500+ Ready-to-Use Responsive W...
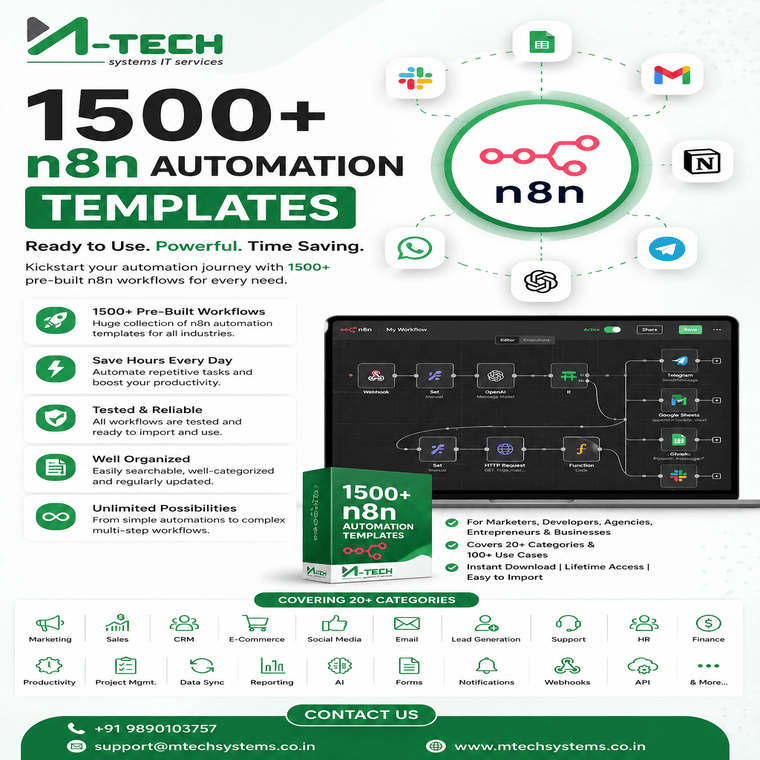
1500+ n8n Automation Templates...
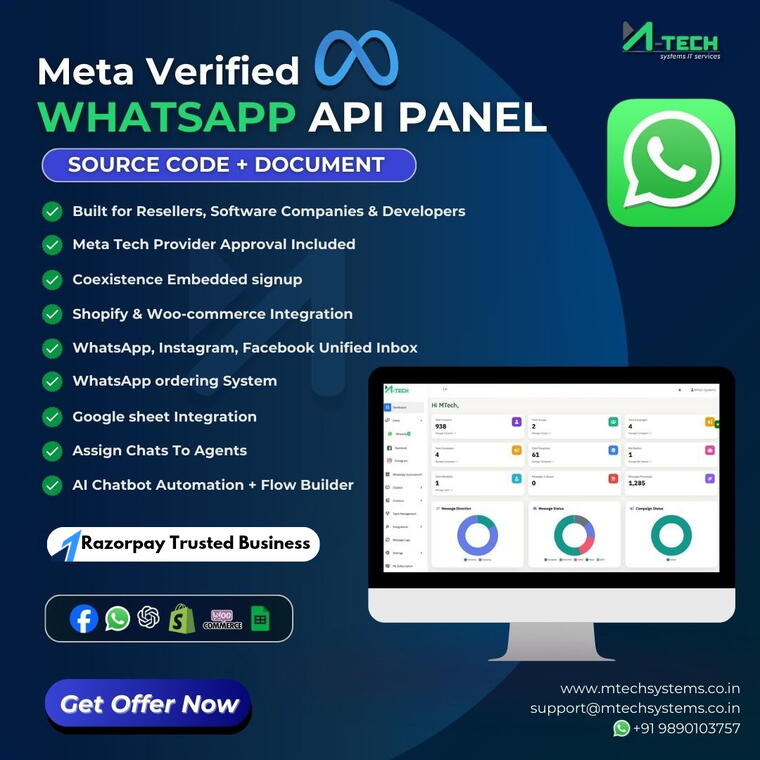
Advance WABA Automation Panel ...
Portfolios
All
Software Development
Portfolios
All
Software Development
Software Development
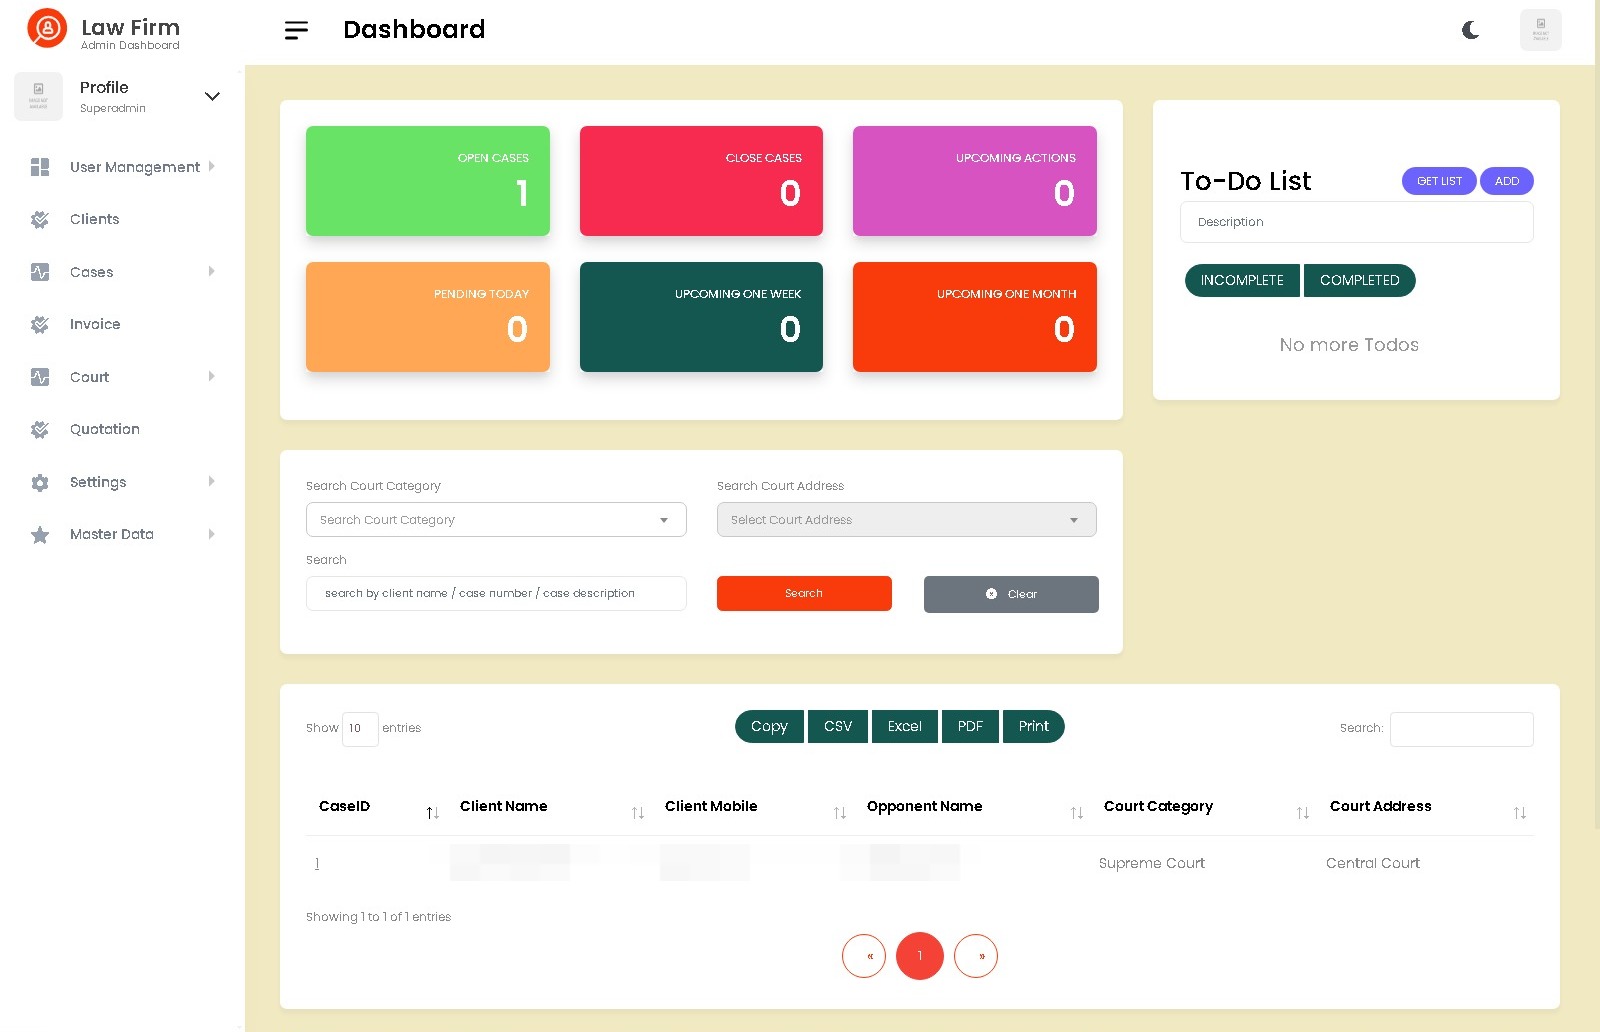
Advocate Management System
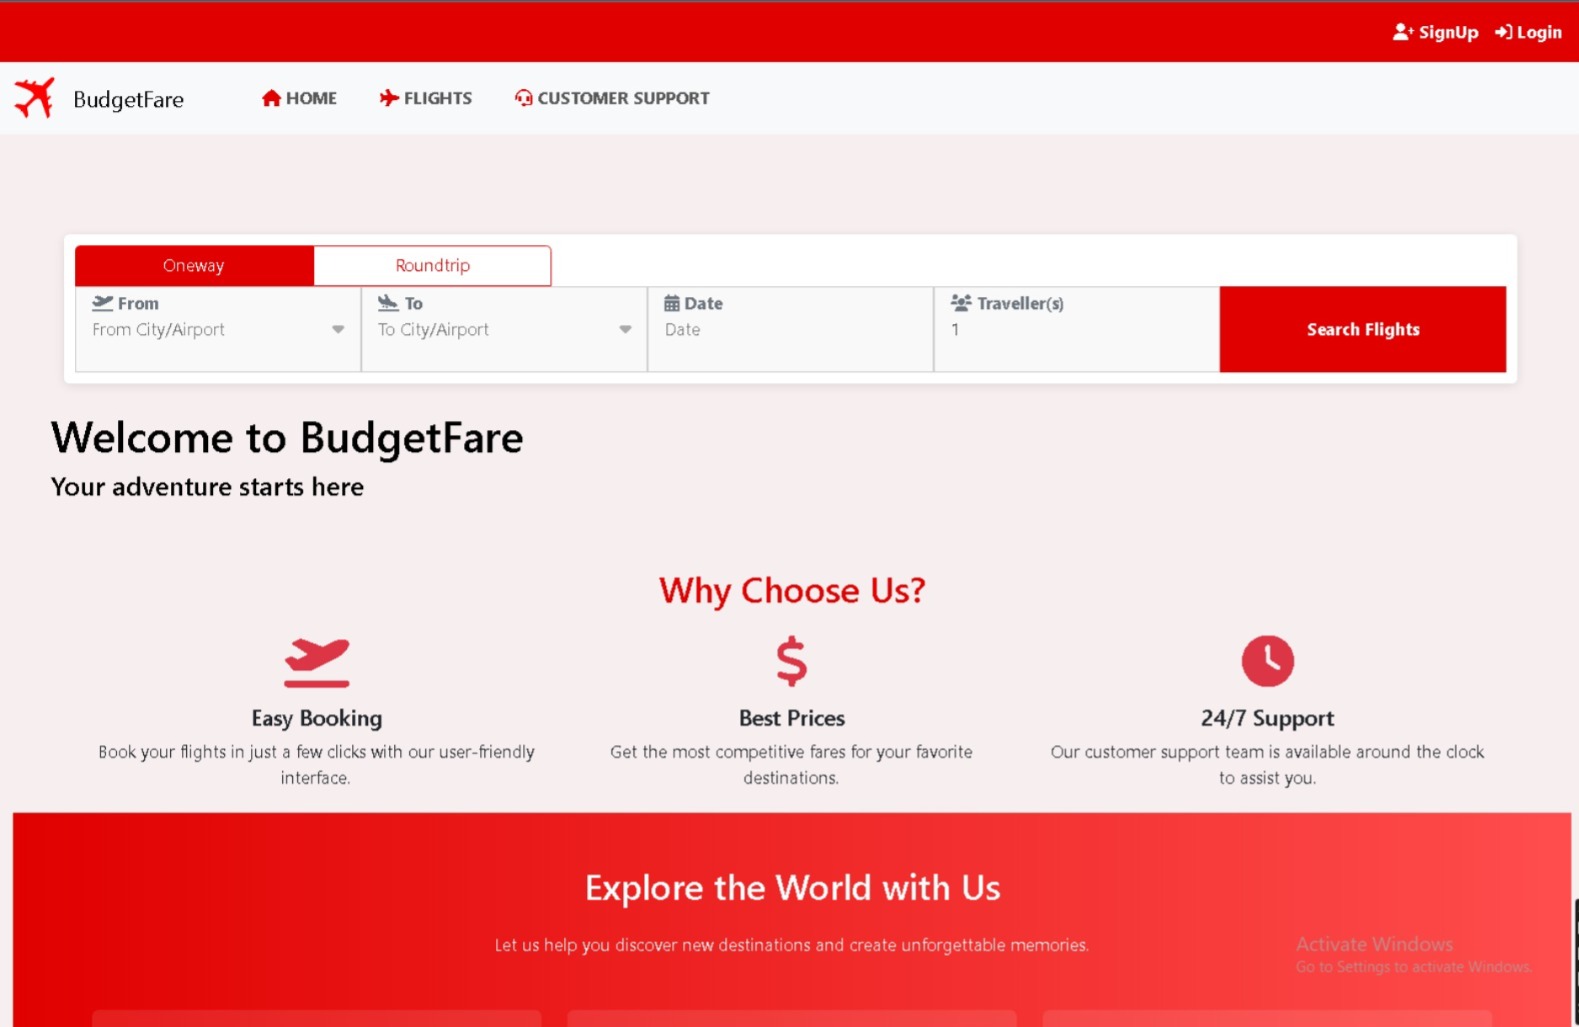
Multi-Vendor Flight Booking Sy...
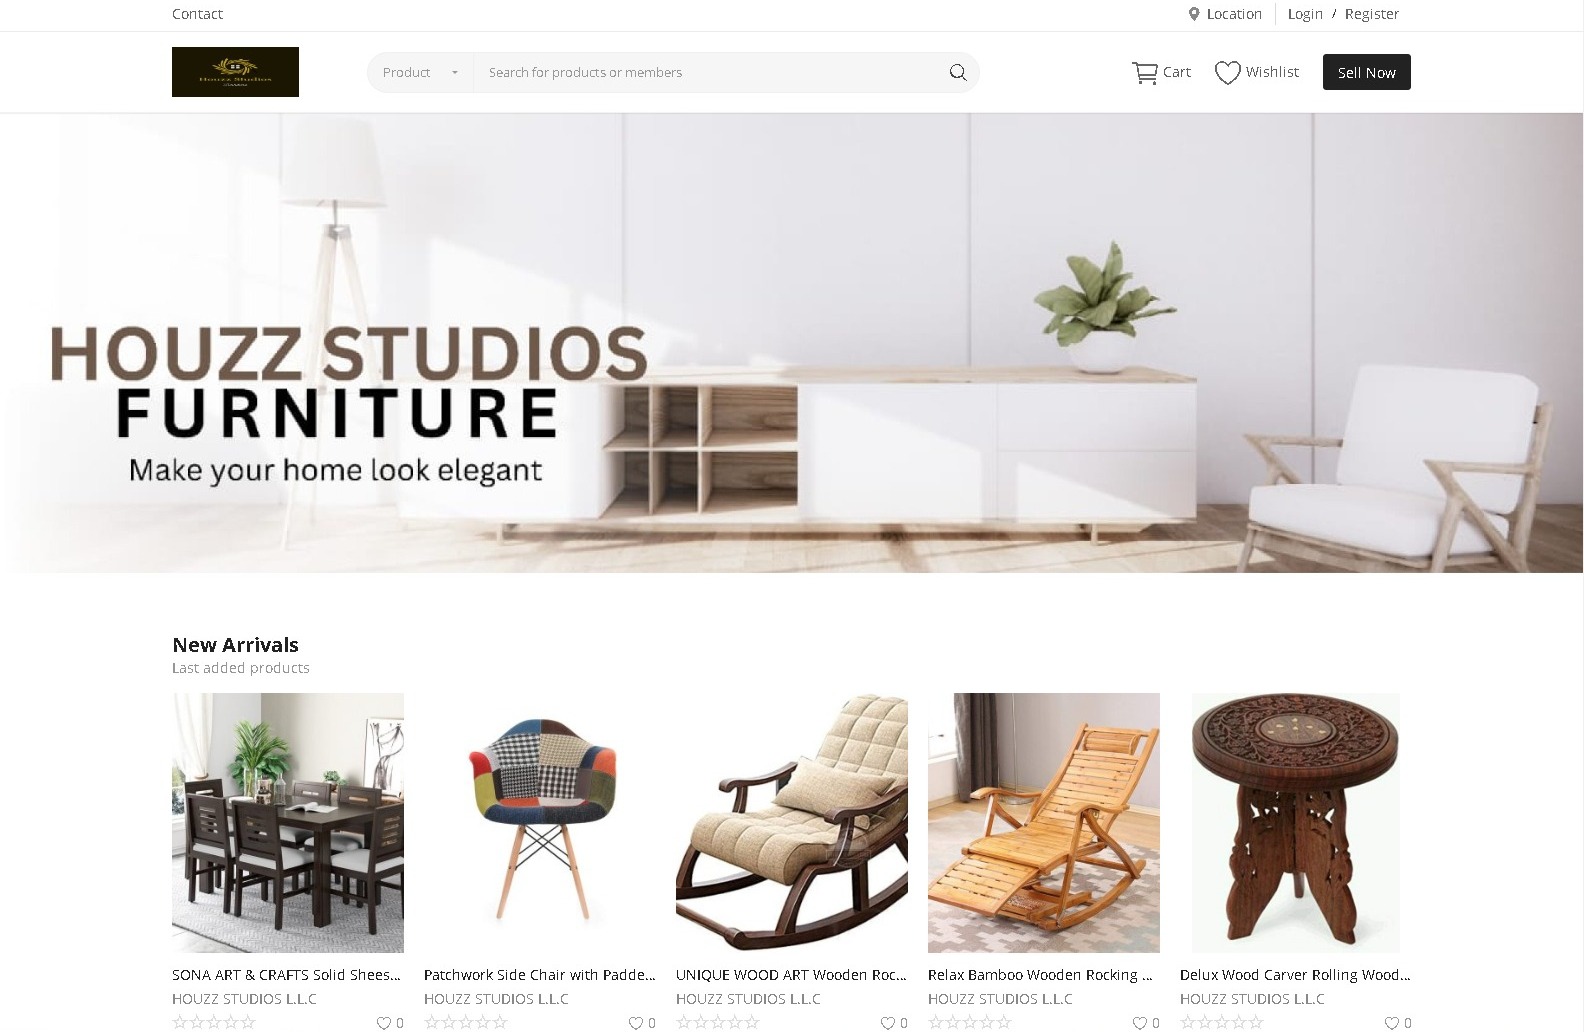
E-Commerce Website With What's...
Real Estate Property Listing
Features
Shop
Products
Cart
Checkout
Courses
Causes
Events
Knowledgebase
Contact
404 Not Found
Oops! Looks Like You're Lost
Home
404
You're lost...
The page you are looking for might have been moved, renamed, or might never existed.
Back Home